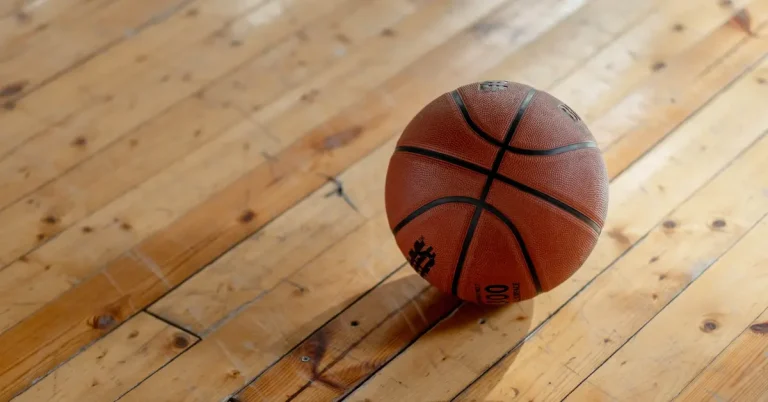

How to Put a Basketball Hoop Net?
Is it time to install a new net for your basketball hoop? If your current nylon net is wearing out fast or your rope-type net is showing signs of wear, it might be time for a replacement, especially if you use it outdoors. Even if it’s not worn out, a dirty and dull-looking net can be refreshed with a new one in a different color or style. Upgrading your net can breathe new life into your hoop and make your different types of shooting experiences even more enjoyable.
How to Replace the Net on Hoop with Hook, without Hook and Chain Net?
To replace the net on your basketball hoop, first take off the old one. Then, unfold the new net and hook its loops onto the rim, making sure they’re secure. Give it a little tug to make sure it’s snug. Now you are all set for some hoop action with your brand-new net.
Resources Needed for Installation
To install a basketball net effortlessly, you will need the following resources:
- Sturdy Ladder: Ensure you have a stable and tall enough ladder to safely reach the height of the basketball hoop.
- Basketball Net: Choose a durable and weather-resistant basketball net type suitable for outdoor use.
- Simple Tools: Keep a few basic tools, such as pliers or zip ties, handy to secure the net properly to the hoop.
How to Put Up a Basketball Net with Hooks?
Installing a basketball net on your hoop is a straightforward process that can be completed with just a few simple steps. Follow this step-by-step guide to easily put on a basketball net:
Gather Your Materials: Ensure you have all the necessary materials ready, including a sturdy ladder, a basketball net (choose a durable and weather-resistant one), and basic tools like pliers or zip ties.
Position the Ladder: Place the ladder securely beneath the basketball hoop, ensuring it is stable and at a height that allows you to comfortably reach the hoop.
Unravel the Net: Carefully unravel the basketball net, ensuring there are no tangles or knots that could hinder its proper installation.
Locate the Attachment Points: Identify the attachment points on the basketball hoop where the net will be secured. These points are typically small hooks or loops located around the inner rim of the hoop.
Attach the Net: Starting at one attachment point, slip the end of the net through the loop or hook and securely fasten it. If using zip ties, thread one through the end of the net and around the attachment point, then tighten it securely.
Work Your Way Around: Continue attaching the net to the remaining attachment points, working your way around the entire hoop. Make sure the net hangs freely and evenly from all points.
Check net alignment and adjust if needed for balance. Verify installation by gently tugging the net for secure attachment.
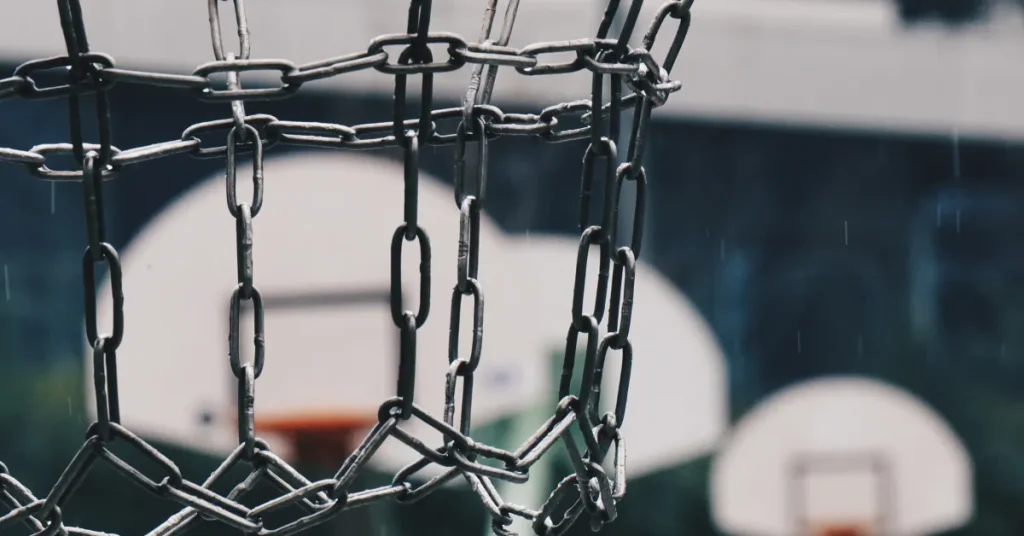
How to Install a Chain Net Basketball Hoop?
Chain basketball nets, particularly those with extra nickel plating, offer superior durability and resilience to harsh weather conditions, making them an excellent choice for outdoor basketball courts. Follow these straightforward steps to install a chain basketball net:
Acquire the right size: Ensure you have a chain basketball net that matches the size of your basketball hoop. A regulation steel rim typically has 12 loops and a standard 54-inch rim.
Locate the top loops: Identify the larger loops at the top of the chain net. These loops are designed to fit over the hooks on the basketball rim.
Attach the first loop: Slide one of the top loops over any basketball hook. The order in which the loops are positioned is not critical at this stage.
Continue attaching loops: Progressively slide the remaining loops one by one over the remaining hooks, maintaining the proper order.
How to Install a Basketball Net without a Hook?
When installing a net on a hoop without hooks, two methods can be used:
1. Cut and Tie Method:
- Cut the Loops: Start by cutting all 12 loops on the net that are part of the larger diameter. These are the hoops that will go on the hoop.
- Set Up Your Ladder: Position the ladder directly under the hoop, ensuring you can comfortably reach the rim.
- Tie the Loops: Take one end of a cut loop and push it through a hole in the rim. Then, use the other end of the loop to tie them together. Repeat this process for all the loops, securing them around the rim.
- Secure the Net: Firmly tug the bottom of the net to ensure all loops are securely tied to the rim.
2. Hoop Knot and Zip Tie Method:
- Grab the Loop: Take one loop between your index finger and thumb and push it upwards through the inside of the rim. Then, bring the loop down to the outside of the rim.
- Wrap the Loop: Once the loop is outside the rim, wrap it around underneath itself, leaving a space big enough to put the loop through.
- Pull and Tie the Loop: Pull the loop through the space and tighten both ends to secure it tightly. There should be a small loop on the outside of the tie.
- Secure with a Zip Tie: Insert a zip tie through both the rim and the loop and tighten it securely. Finally, use scissors to cut off the excess zip tie.
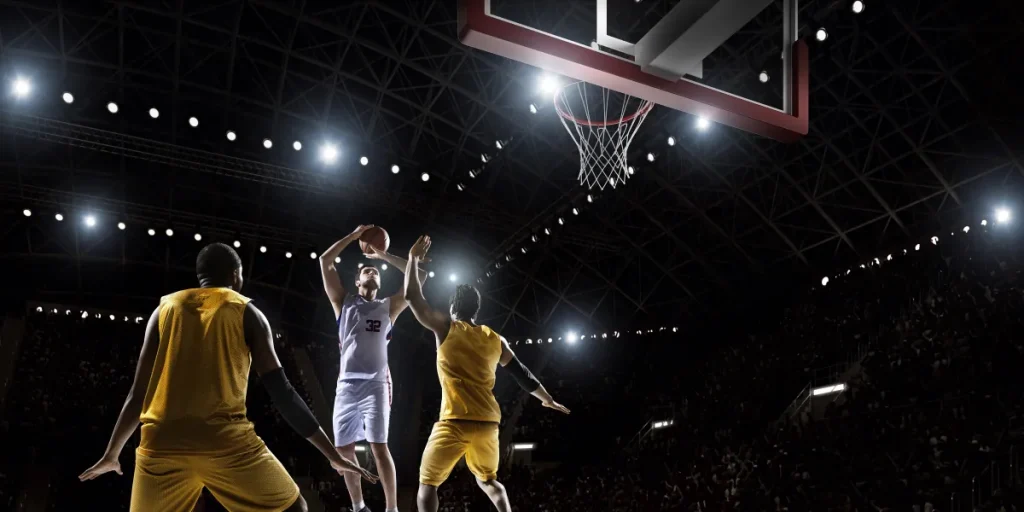
Why do I need a Basketball Net?
Installing a basketball net has greatly improved my shooting experience, adding motivation and excitement to every game. It enhances gameplay flow, improves shooting accuracy, and fosters social bonding during friendly matches. Its professional touch elevates the court’s aesthetics, making it a valuable tool for beginners like me to aim better and improve coordination.
Personal Experience with the Installation of Basketball Net
During my basketball journey, the installation of a basketball net was a game-changer. The process was straightforward, requiring a sturdy ladder, a basketball net, and a few simple tools. Positioning the ladder securely, I attached the net to the hoop, ensuring it hung freely without any tangles or obstructions. The process took only a few minutes, and the transformation was remarkable. From that moment on, every shot became more rewarding, as the net provided instant feedback on the success of each attempt.
FAQs
How do I make a basketball net?
To make a DIY basketball net, you’ll need a nylon or cotton cord. Cut the cord into 12 equal lengths, tie the ends together to create loops, and then connect them to form the net. Ensure the loops fit the basketball hoop’s rim size.
How do I remove a basketball net?
To remove a basketball net, simply untie or unhook it from the attachment points on the rim. If it’s secured with zip ties, cut them off using scissors to free the net.
How do I put a net on a mini basketball hoop?
Attach a net to a mini basketball hoop by using the provided hooks or loops. Simply slide the loops over the rim’s attachment points or hook the net onto the provided hooks.
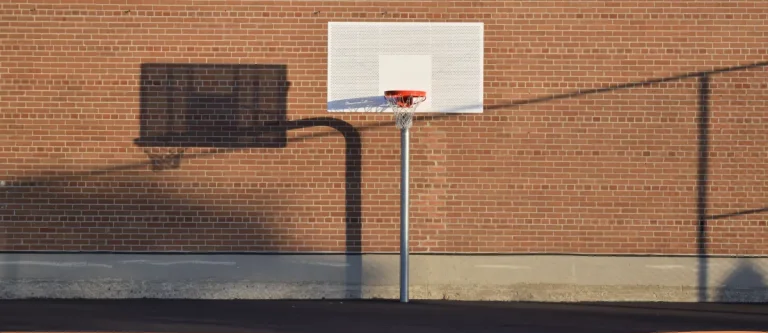
How do I hang a basketball hoop on the wall?
To hang a basketball hoop on the wall, use a wall mounting bracket or anchor the hoop to a sturdy wall stud. Follow the manufacturer’s instructions and use appropriate hardware for a secure installation.
Conclusion
Putting up a basketball hoop net is a breeze with these easy steps. Whether you are replacing an old net or adding a fresh one, the process involves detaching the old net, hooking the loops of the new net onto the rim securely, and giving it a final tug for stability. This simple routine ensures your hoop is always ready for some slam-dunk action. So, grab your ball and enjoy countless games with a securely fastened basketball hoop net. Explore our guide for more insightful tips on maintaining your basketball setup, ensuring a durable and long-lasting playing experience.

Passionate basketball player striving for excellence on and off the court. Dedicated to the game since youth, I have honed skills through years of practice. Explore my journey, gear reviews, and dunking tips. Let’s elevate our game together!